Customize Your Schedule: A Quick Guide to Adjusting Calendar Views
Welcome to a calendar experience tailored just for you, no matter your styling preference! Whether you’re using RingMyStylist, RingMyBarber, or RingMyLoctician, the process of adjusting your calendar views is seamless and identical across all three apps. Let’s dive into how you can effortlessly switch between 7, 3, and 1-day views to make the most out of your scheduling.
Step 1: Open Your Calendar
Begin by opening your calendar app. It could be on your phone, tablet, or computer—wherever you manage your schedule.
Step 2: Locate the View Options
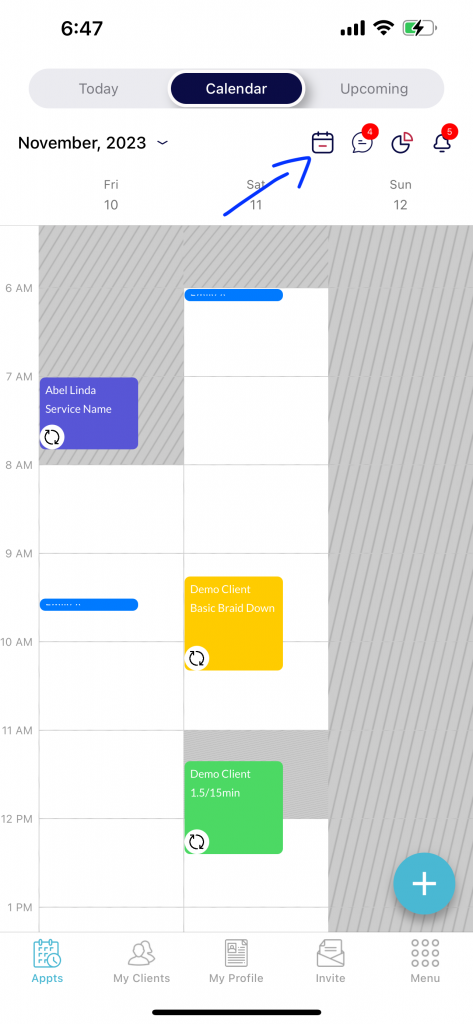
Look for the view option. A calendar icon represents it. See the image below.

Step 3: Choose Your Preferred View
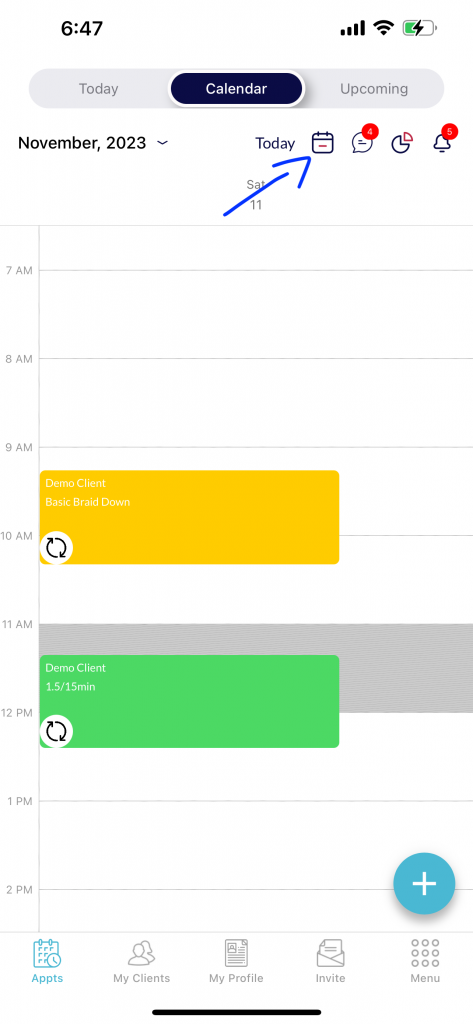
Tap or click on the icon and choose the desired view option. Experiment with each to find what suits your needs. Whether you want a comprehensive week at a glance, a focused snapshot of the next few days, or a detailed view of a single day, it’s all at your fingertips.
Step 4: Explore and Navigate
Once you’ve selected your preferred view, take a moment to explore. Navigate through your schedule, events, and appointments. This customization allows you to tailor your calendar to match your unique planning style.
Step 5: Bonus Tip
Once you select a view for your calendar, it will remain the same until you change it again.
Conclusion: Your Calendar, Your Way
Congratulations! You’ve successfully customized your calendar views to match your scheduling preferences. Whether planning for the week, the next few days, or focusing on a single day, your calendar adapts to your needs.
Experiment with these views and find the perfect rhythm for your schedule. Happy scheduling!
Client Appointment vs Personal Appointment
